


Step by step instructions for integrating Dryfta with Hubspot CRM using Zapier. Using this guide, you will be able to move & sync contacts from Dryfta event platform to Hubspot CRM.
We have a video tutorial about integrating Dryfta with Hubspot CRM using Zapier.
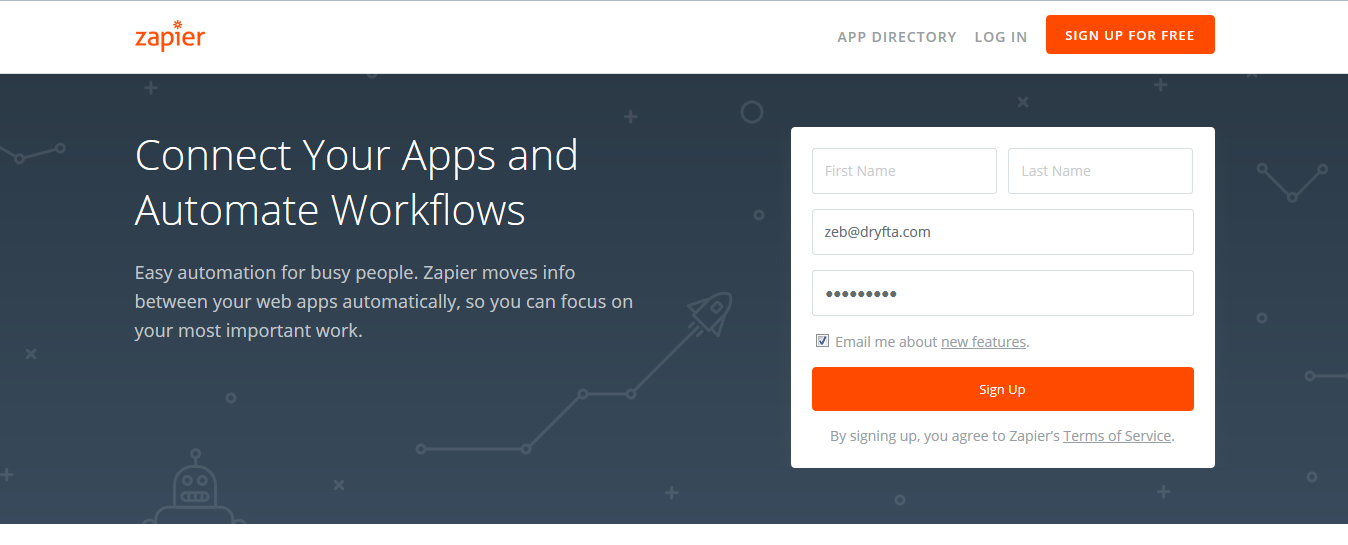
If you’re new to Zapier, click on Sign Up to create a free account. If you’re an existing user, click on Log In to log in to your Zapier account.
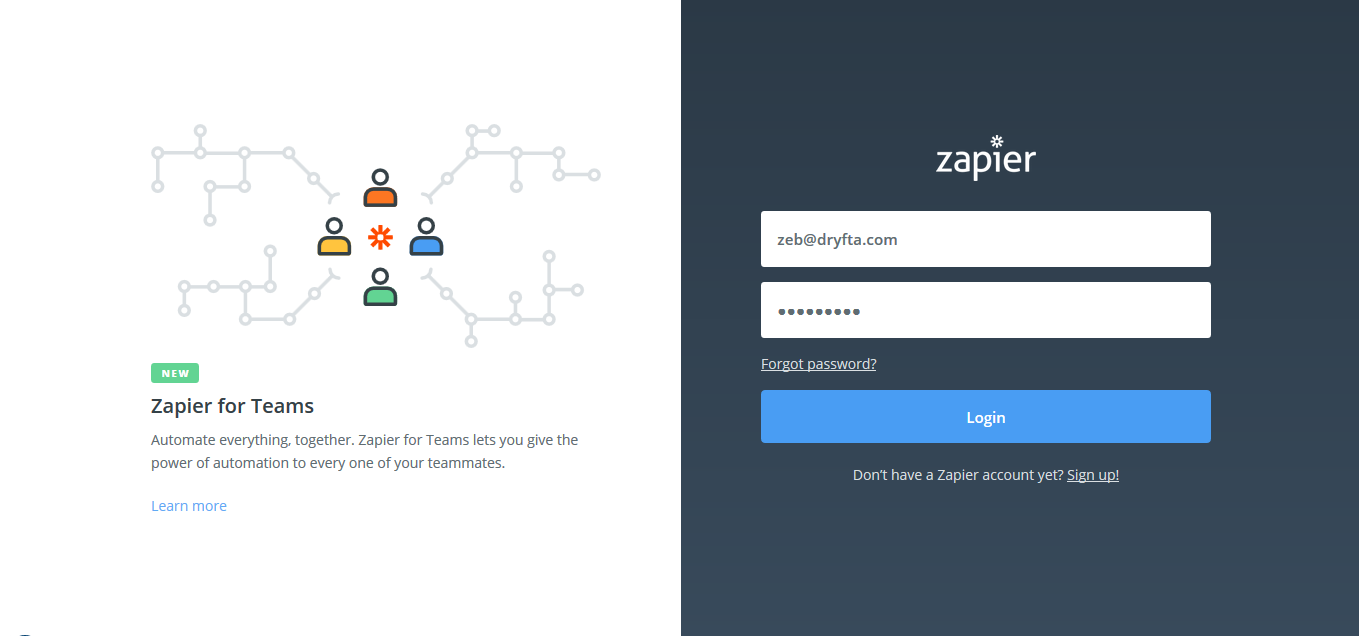
To log in to your Zapier account, please enter your login credentials

Click on Make a Zap button to create a new Zap. Zaps connect the 3rd party web apps to Dryfta.
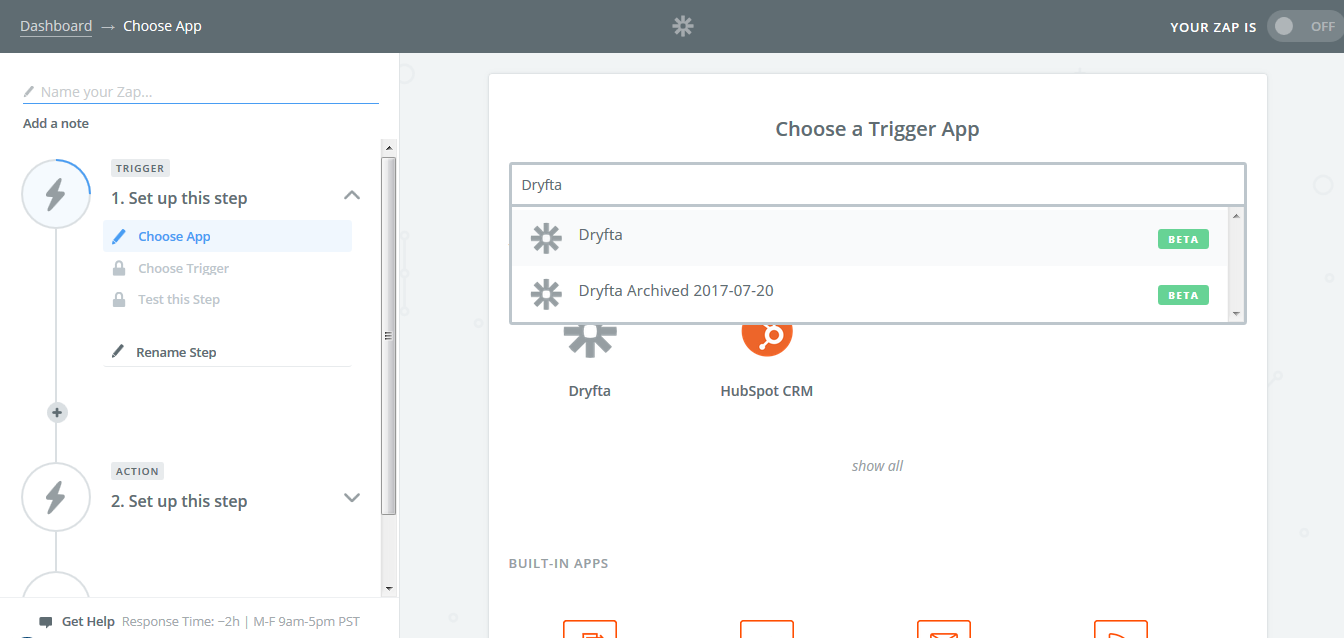
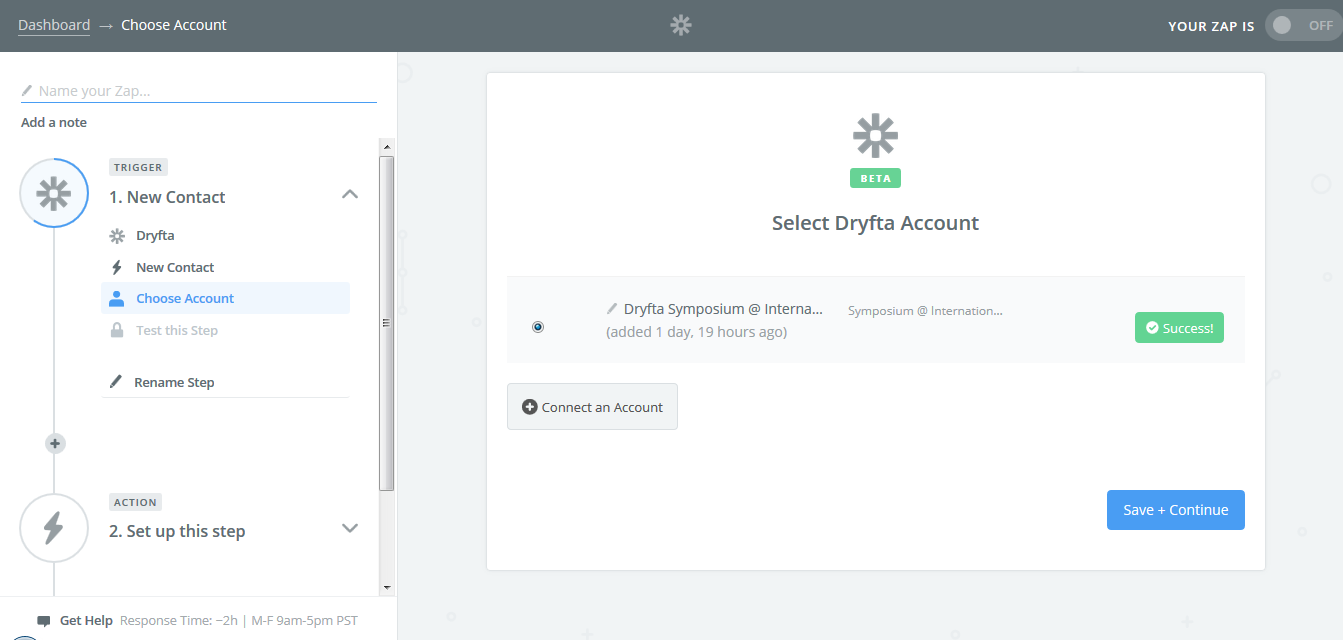
Find & select Dryfta app.
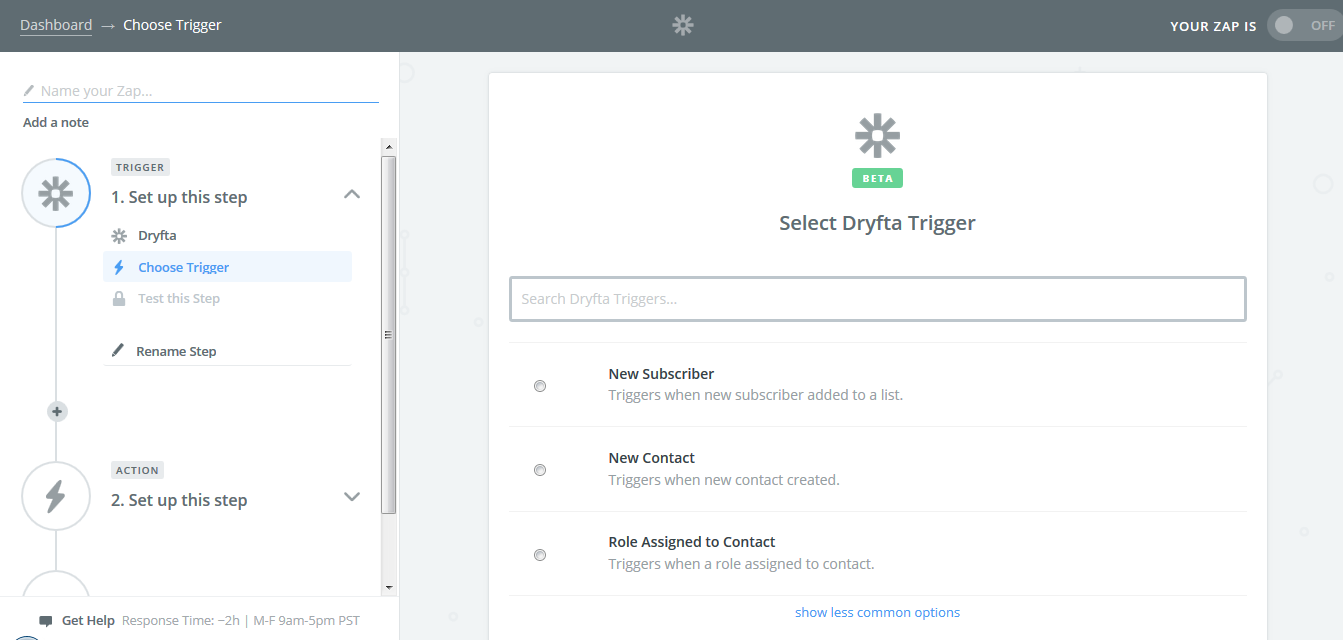
Select “New contact” from the options available.

Click on Connect an Account button to connect your Dryfta account with Zapier.
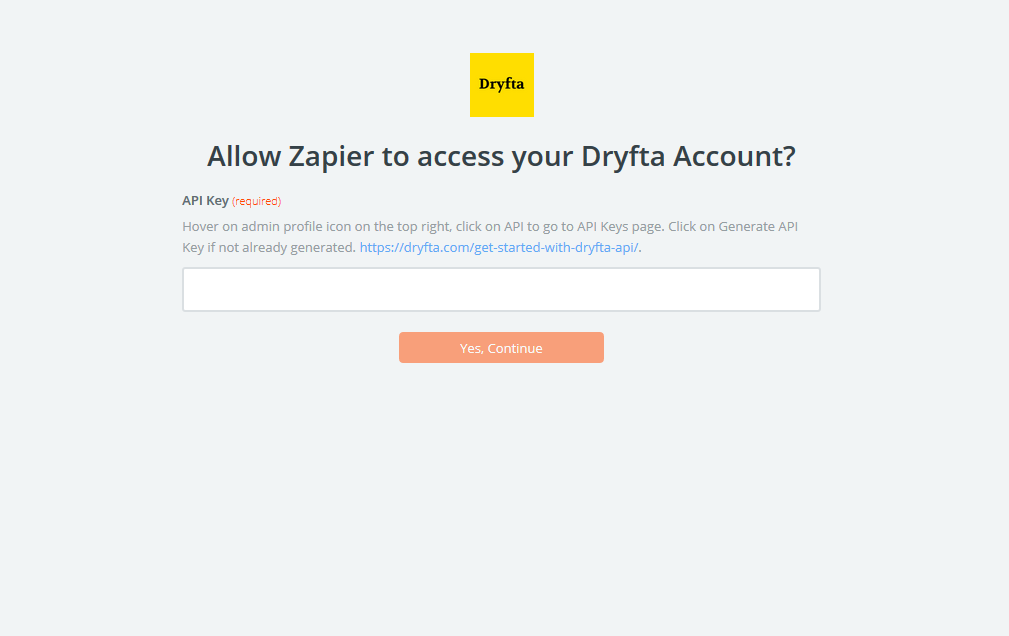
Enter your API key and click on Continue.
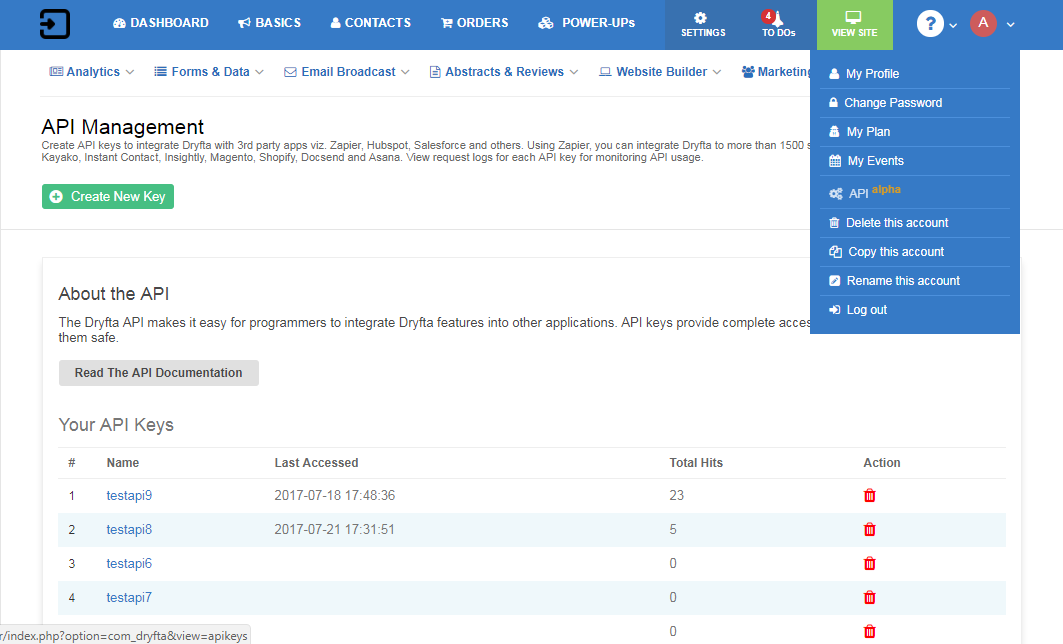
To find or generate an API key, go to your Dryfta dashboard, hover on admin profile icon in the upper right corner, and click on API.
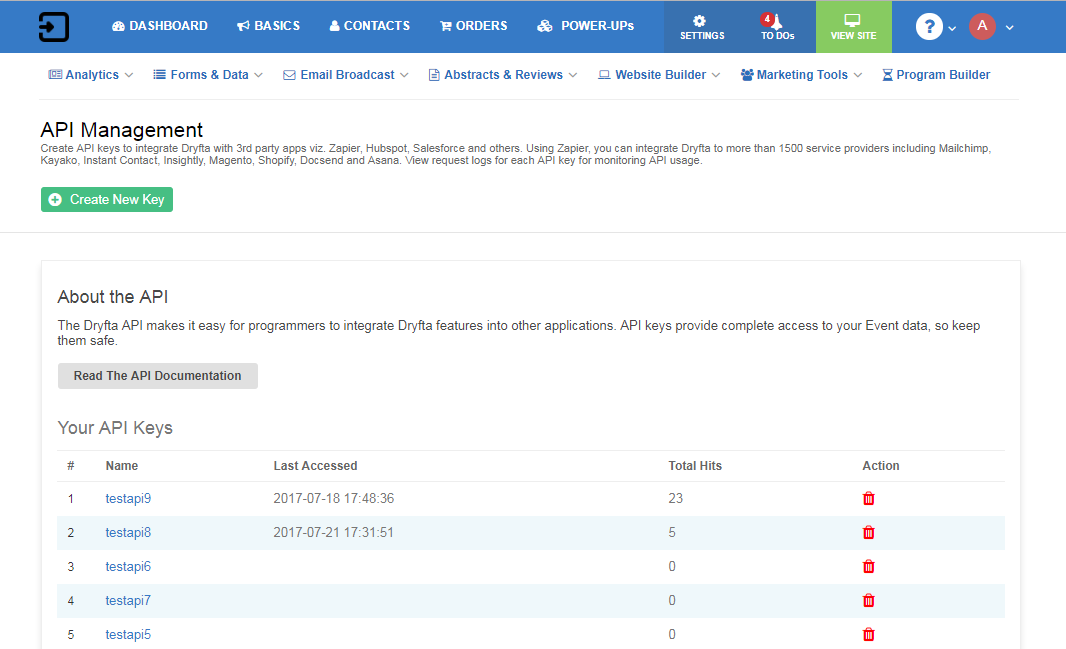
Generate a new key or use your existing API key.
Click on “Test” to test the connection. If connection is successful, it would display Success! message.
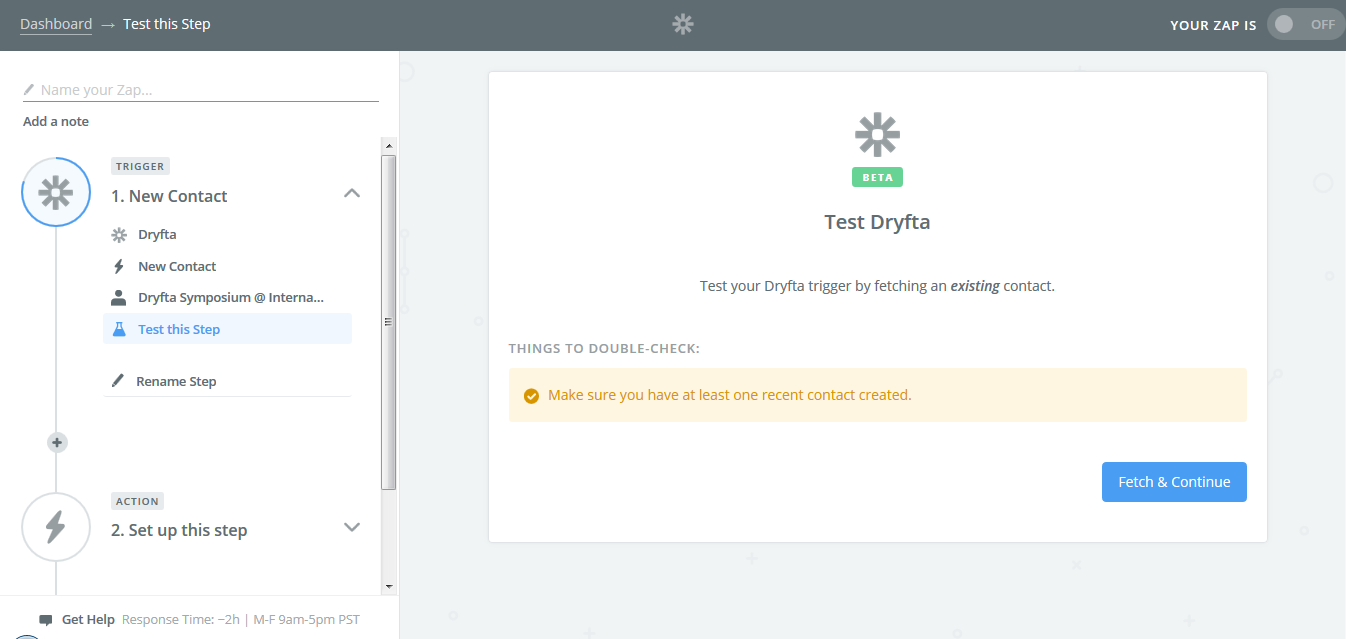
To test your Dryfta trigger, click on “Fetch + Continue” button to fetch the latest contact from Dryfta.
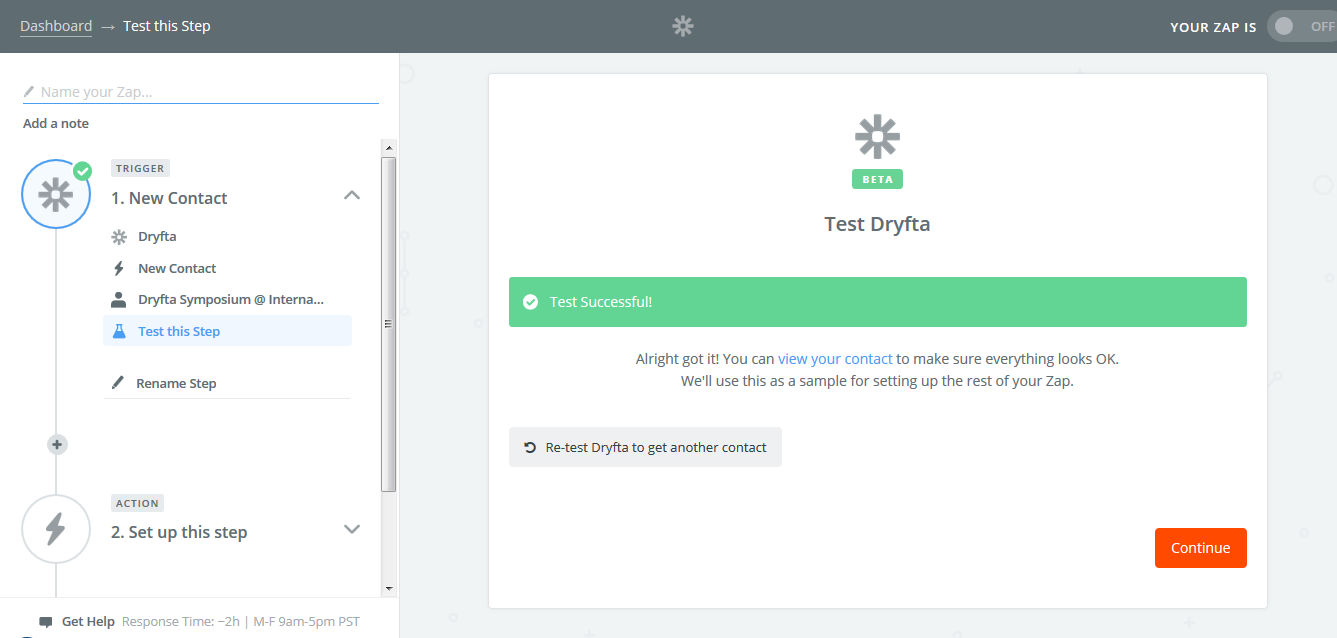
If Zapier is able to fetch the latest contact, it would display the message “Test successful”.
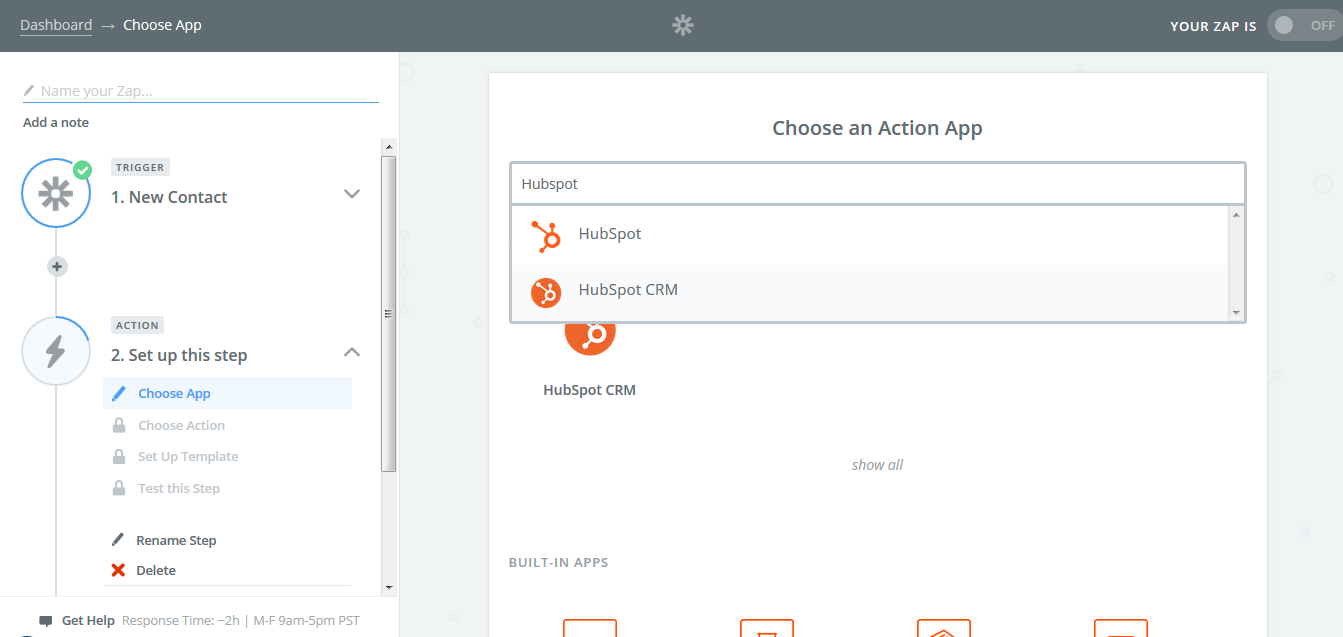
Find & select Hubspot CRM app.
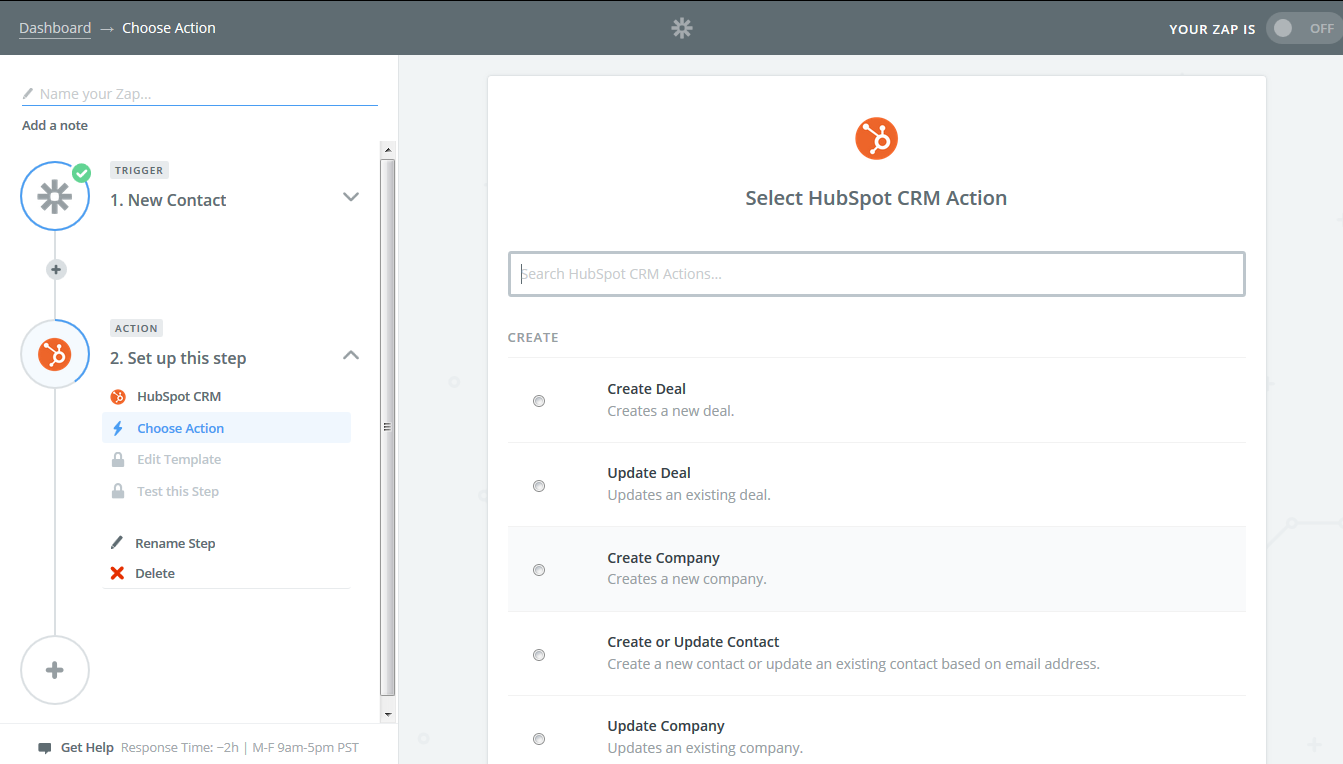
Select “Create or Update new contact” from the options available.
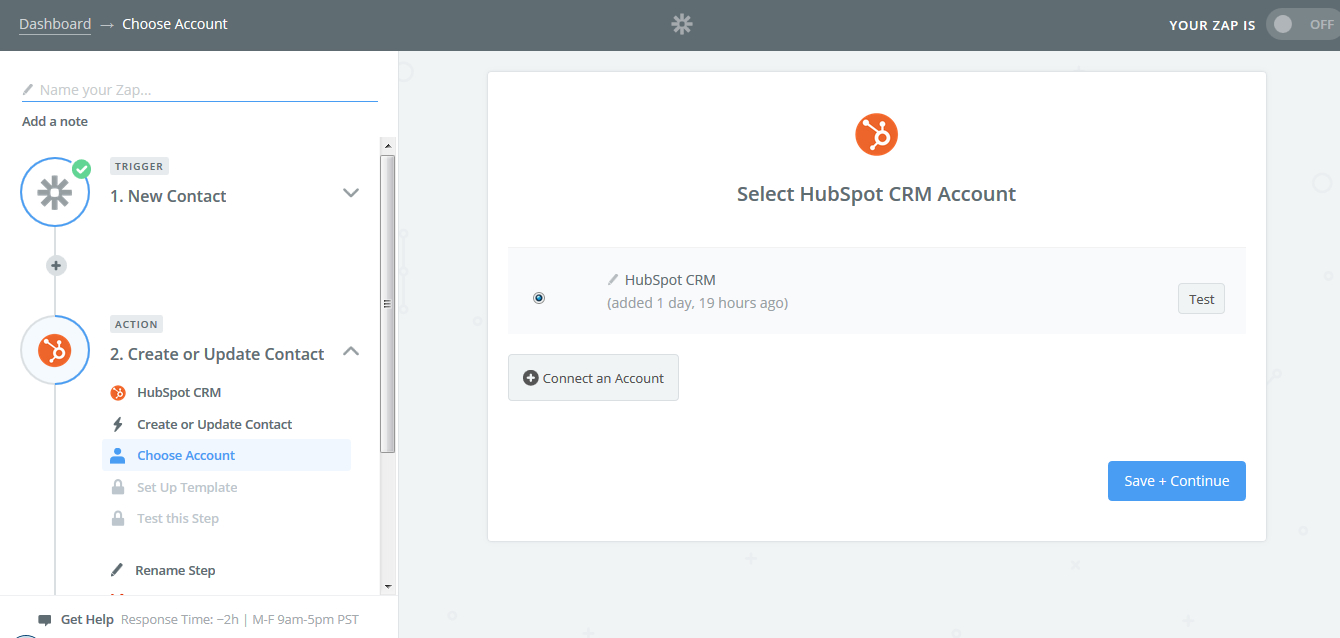
Click on Connect an account to connect your Hubspot CRM account with Zapier.
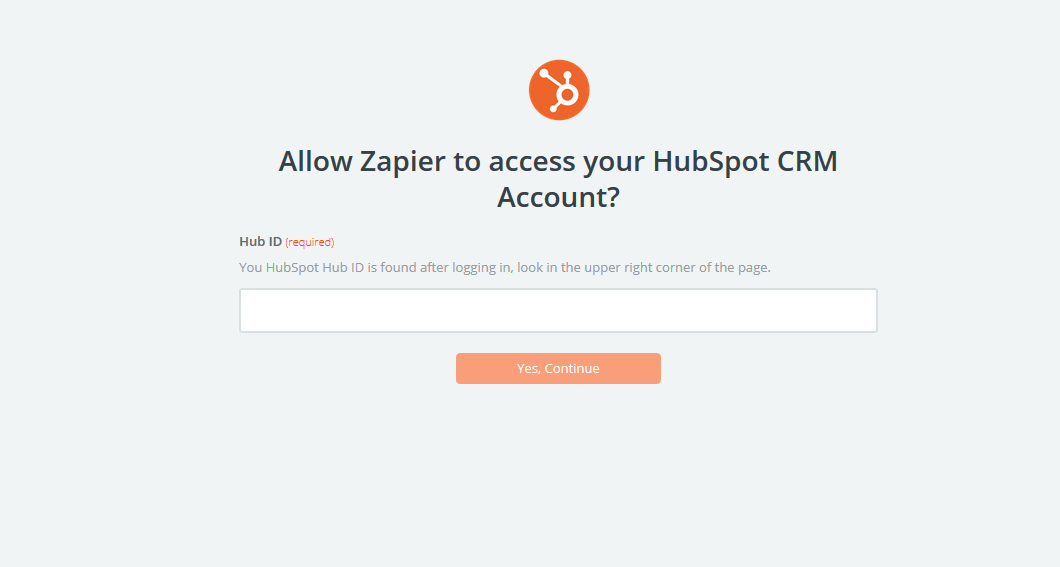
Enter your Hubspot ID you can find in the upper right corner of your Hubspot dashboard.
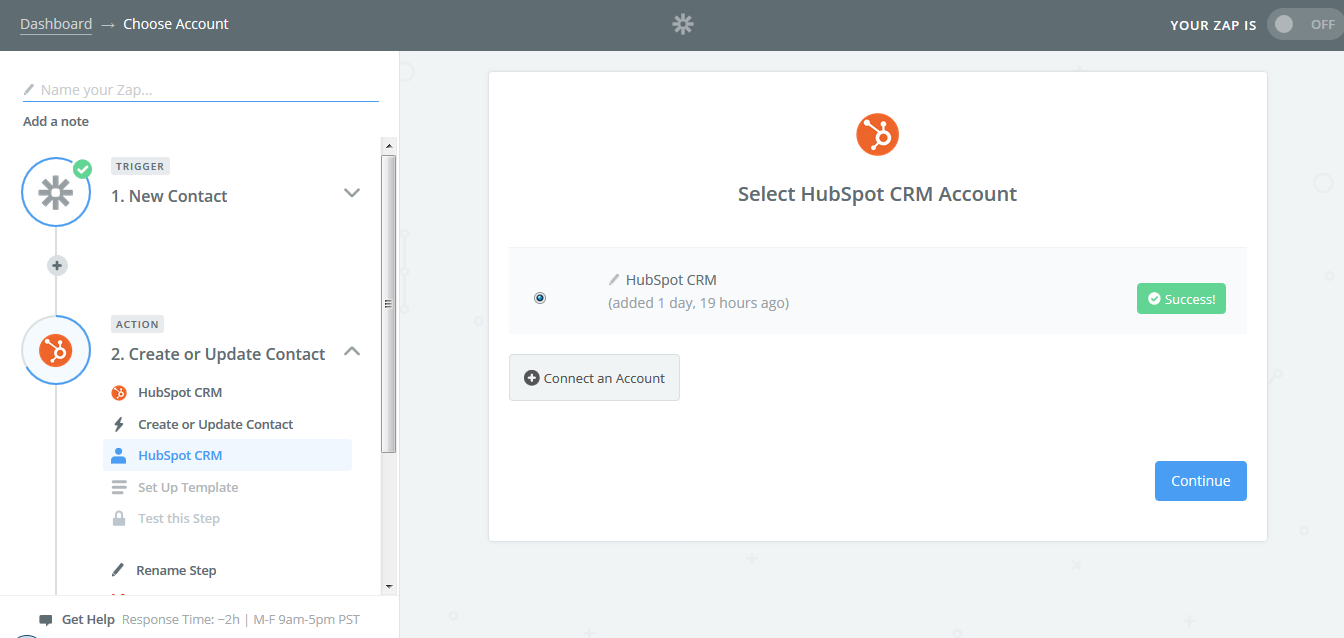
Click on Test button to test the connection between Zapier and Hubspot CRM. If connection is successful, it would display Success! message. Click on Continue button.
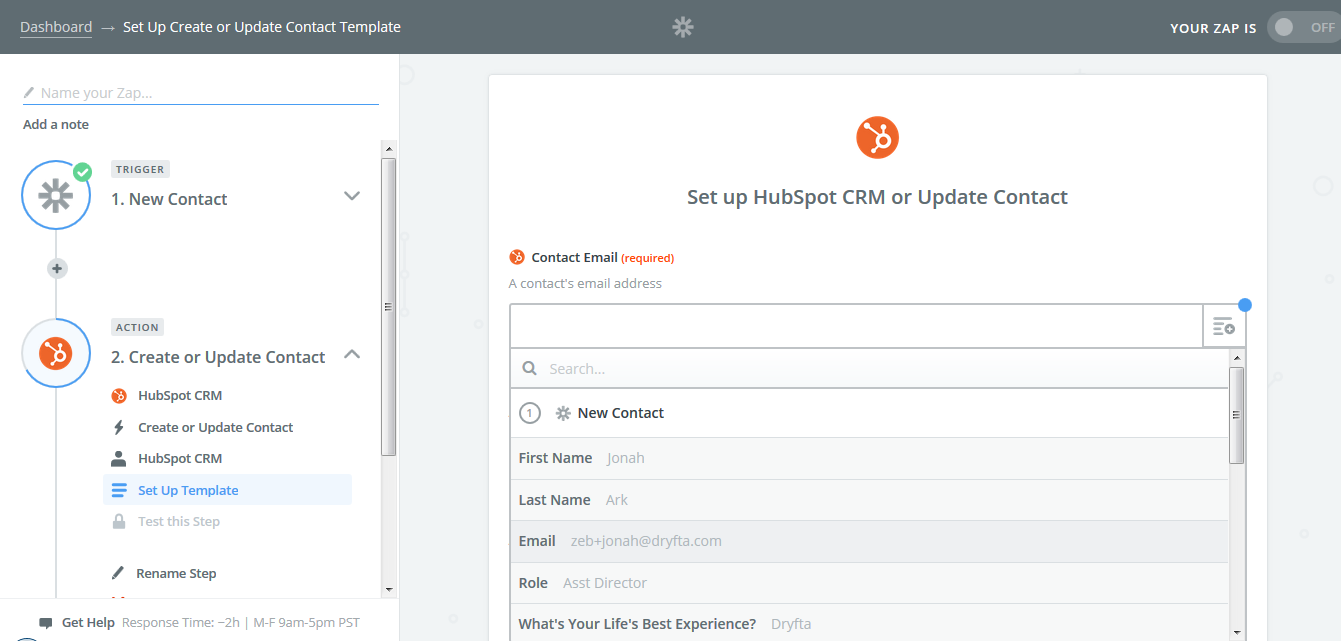
Select the Email address field and from the drop down, select the email address field (fetched from Dryfta app) the data of which you want to move to Hubspot CRM.

Select the First Name field and from the drop down, select the first name field (fetched from Dryfta app) the data of which you want to move to Hubspot CRM.

This screenshot displays the First Name and Last Name fields after they are mapped with associated fields in Dryfta app. Scroll down to the bottom and click on Continue button.
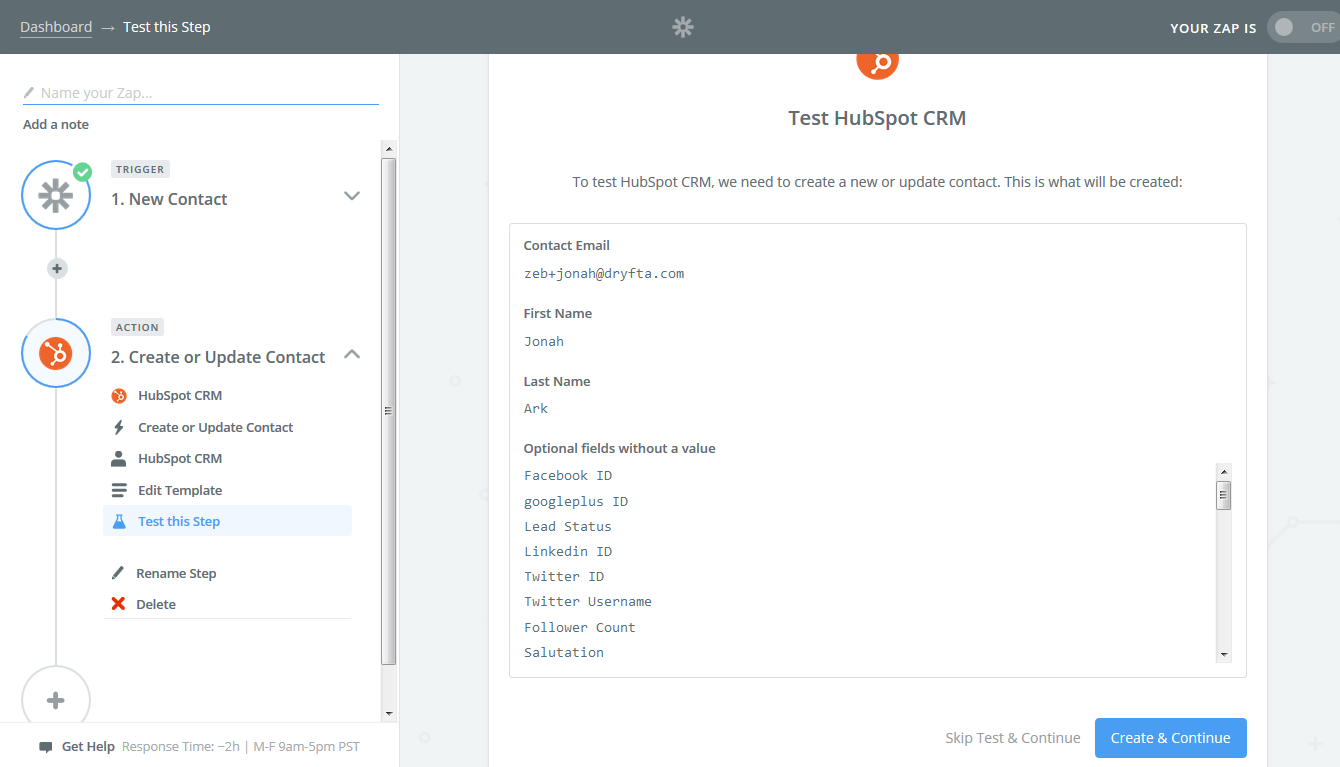
Click on Create & Continue button.
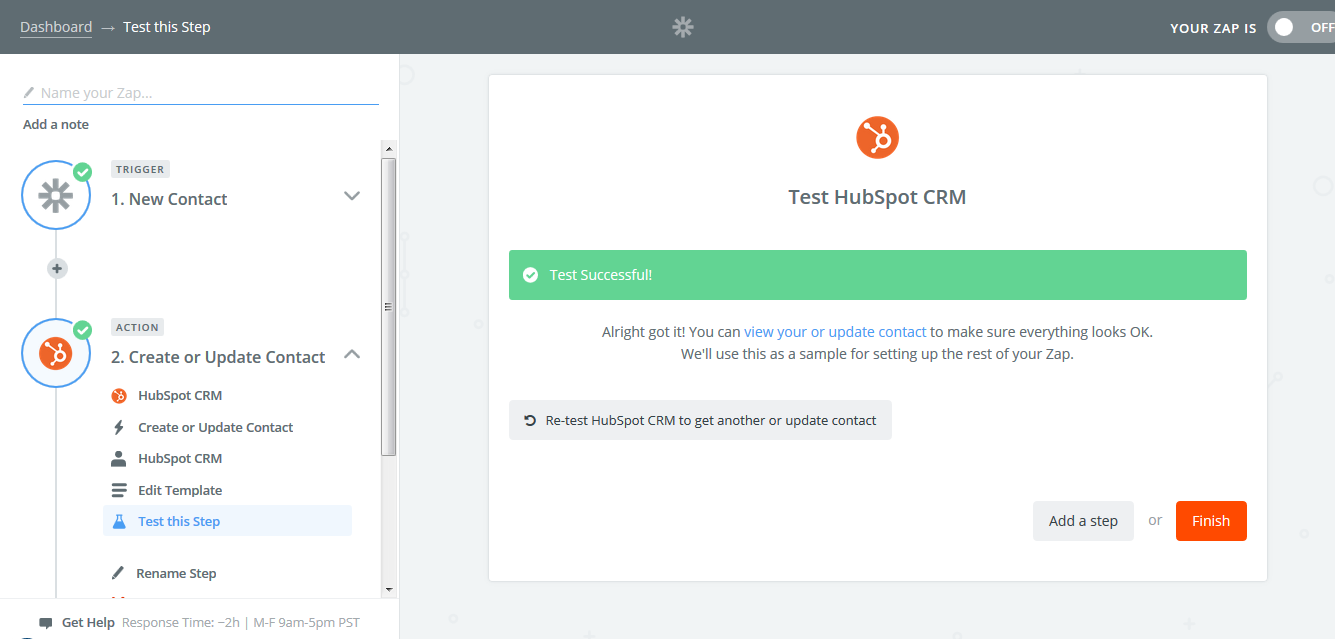
If the mapping was successful, it would display the Test successful message. Click on Finish to finish building your Zap.

Give a name to your Zap and switch it On. that’s it. This Zap will run every 15 minutes to check for new contacts in Dryfta platform and move it to Hubspot CRM.
To see the latest features added and improvements made to the Dryfta event platform, go to our System Status page.
Dryfta offers a free trial account for 30 days to all universities and non-profits to try the platform with up to 30 free registrants.
Related Searches
- Top 10 Popular Event CRM for Nonprofits
- Organize Contacts with Dryfta Event CRM’s Merge Tool
- 7 Signs You Need a Better CRM for Nonprofit Events
- Event Industry’s best CRM just got better!
![]()